Over the past few months we’ve been performing a bare metal repaint on this BMW Isetta. We took the job over from another restorer, and asked to work with some of the existing metal repairs, while making a few necessary ones of our own.
Sanded and de-rusted. The engine cover on this body fit quite poorly, and we remade two sides of the perimeter.
Priming and sanding. Priming and sanding
Healey 100 meets Isetta.
Azur Blue and Ivory laid down right here.
Late in the restoration, the owner asked us to fit this Isetta with a “tropical door.” An option offered by BMW for Isetta’s sold in warmer climates and distinguished by the two oval openings, which draw additional fresh air into a two-way vent inside, and ultimately the cabin. We’re still working on repairs to the frame work and lower skin.
Rarely does one find an original Austin-Healey BJ8 dash in usable condition with most of its original burled walnut veneer, or at least I like to imagine. This one was brought in by a local customer, who is restoring the car himself. It had a few problematic areas, which were resolved with some pieces of veneer from a donor dash panel blended in, and then received approximately 6 coats of urethane clearcoat. There was plenty of sanding between applications, and even more buffing and polishing after the final coat.
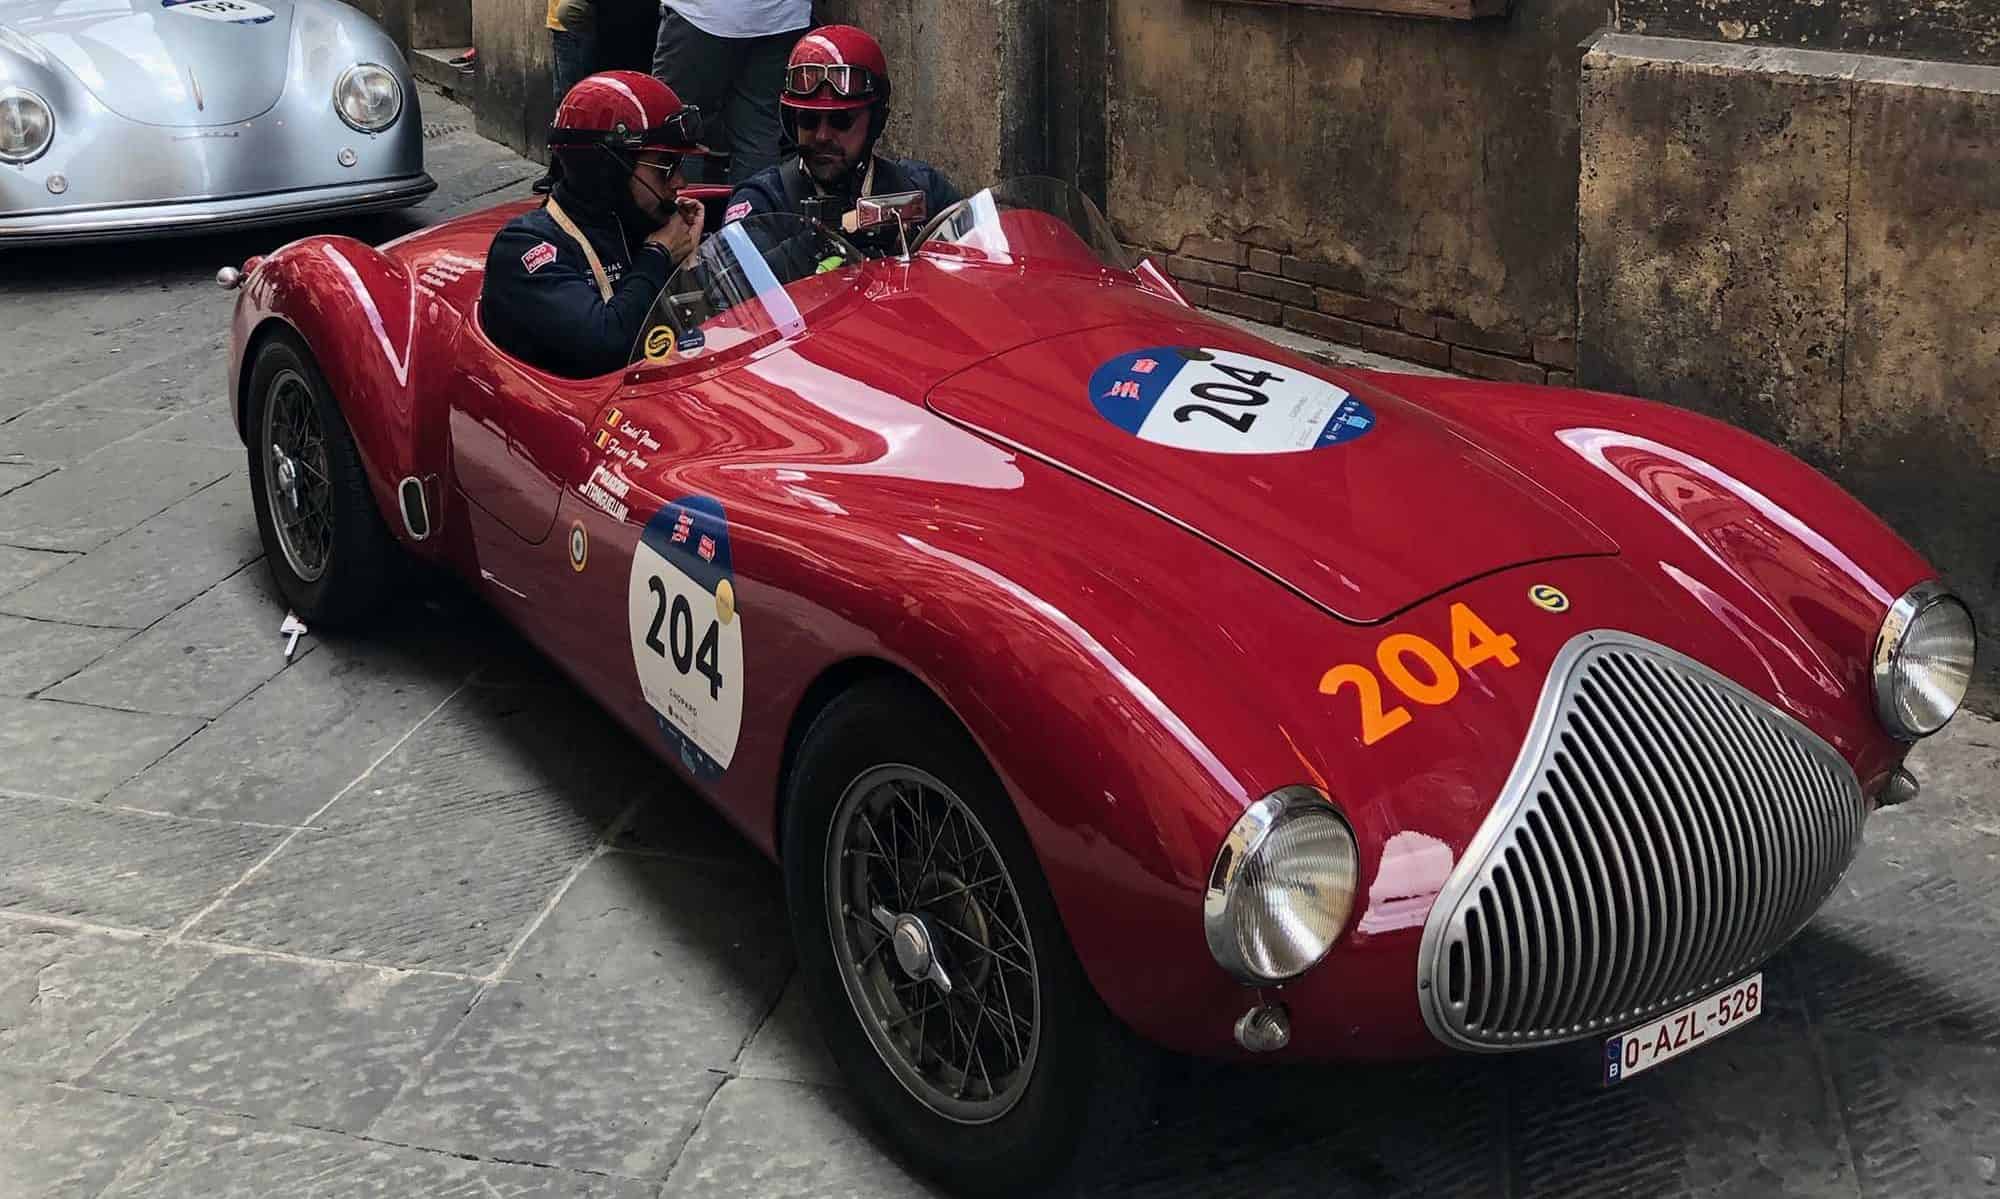
I’ve tended to shy away from Porsche work in recent years. However, I made an exception for this customer and project. The car is a 1979 911SC finished in a factory Cashmere beige, and equipped with a very homemade turbo conversion – more of this is covered in an earlier post.
Here is what we started with. There is an EFI conversion lurking in there.
Stripped. Welded. Body worked. The engine bay had nearly a dozen extra holes, in addition to welds and funky repairs. We did put best to remove them all, and clean up years of damage on the rear shut panel from hasty mechanical work.
Before laying down the color, we epoxy primed and re-textured the engine bay.
A color-matched engine shroud.
Moving along.
So, this car was previously fit with a modified CIS manifold. Not an ideal choice for a turbo-conversion for a number of reasons. We modified a 3.2-liter Motronic manifold to fit, and rotated the throttle body approximately 60 degrees rearwards. This involved modifying the bell crank and throttle linkage, as well modifications to the stock throttle body for reverse operation. Stainless fuel lines were also fabricated with AN fittings to accept the fuel rails.
All of that intake work was necessary to fit an intercooler underneath a ducktail engine cover. The intercooler is a factory 930 unit, which has been reversed 180 degrees and modified to fit. A custom tapered charge pipe was also added. Clewett Engineering’s plug wires with a woven shield are a nice touch, IMO. To be continued…
Exhibit A – A completely clogged accelerator pump. The Solex C35’s accelerator pump is the lowest point on the carburetor, just like a Weber DCOE, and it therefore acts a collection tank for rust and debris that find their way into the float bowls.
We tore these carburetors down and placed them in the sonic cleaner for an hour or so with a very mild cleaning solution. This car is a driver. We then installed a rebuild kit with all new accelerator pump components, gaskets, o-rings, and more.
The real culprit. This fuel tank had likely never been out of the car. And, after getting it back from the acid dipper, we tried a number of methods to clear out any remaining rust or debri without success. Ultimately, an access hole had to be made in order to remove the clogged fuel return line.
After desoldering the old line and removing it through the aforementioned access hole, we bent up a new line, and reinstalled with a small sheetmetal bracket to keep it place. The access hole was TIG-welded shut, and an ethanol-safe coating was applied to the tank.
Welded back up, epoxy-primed, and painted flat-black on the outside.
This is the bronze fuel tank collar found on S1 and S2 Fulvias. The S3 cars received a plastic locknut (blame Fiat) and it is only a matter of time before it needs to be replaced, if it hasn’t already. These bronze ones are readily available.
In order to change the locknut, the gas cap retaining flange will need to be removed and re-soldered back on.
Nice new fuel drain plugs are available in two different thread pitches, they also double as the fuel pickup filter. The original mesh is typically damage or clogged with years of gunk.
More Lancia Fulvia 5-speed gearbox repairs underway… This one was sent in from out of state, after the owner reported noisy operation at-speed.
Splitting the differential. Upon disassembly it became apparent the problem was in the ring and pinion, and the noise was likely alway present, it was just very audible at highway speeds. Lots of metal shavings and contaminated oil was present inside the case.
Lancia’s Technical Data sheets are a lovely aids! They are available online. However, if you have trouble finding them – send me an email. Final drive clearance is supposed to be scribed on the ring and pinion from the factory, and can be deciphered with the page above.
New ring gear going on for the first of many test fits to make sure the ring to pinion clearance is correct.
Ready to be reunited with its case halve. In addition to the ring and pinion, this gearbox received new bearings for the primary and intermediate gear stacks, and differential. It should be nice and quiet after this.
Camshaft bearings, camshaft, and main bearing studs going in.
Some Country cast pistons with 4 rings as original. These are .020″ oversize and have all be balanced to match their corresponding rods.
Tappjng in some new freeze plugs.
Ok, the provided instructions don’t tell you to install the RMS modification with this method, likely for the reason that most installers don’t have a lathe to make an alignment fixture. We like to make a stepped alignment tool, that clamps into the main bearing cap and stepped outer diameter to match the provided updated seal holder.
Radial oil seals to be pretty much perfectly centered, or they will likely develop a leak.
Once aligned and the mounting holes are transferred, we can drill and tap the block.
The last part of the seal conversion involves clearancing the rear engine plate. This is more of an art than a science, being that it does not need to be absolutely precise.
Flatter than your normal Healey oil pan. We spent some to remove any damage and reweld the baffles.
All painted up.
Here is the actual valve cover we’ll be using on this engine. Considering it needs to be removed periodically, it is best to paint them separately.
We are fortunate enough to have most of the original hardware on this engine. So, we media blasted it, chased the threads as needed, and re-plated it.
This 1970 Fulvia 1,3S arrived in September 2019 with a “rough running” condition. The owner was new to classic car ownership at the time and could provide little insight into what was going wrong. Months prior to the car’s arrival, it was parked outside at a local gas station for an extended period of time – this did not help matters.
A lovely blue on this Fulvia. Unfortunately, it was looking weathered with rust coming through in various areas. It quickly became apparent that the engine had been badly overheated. After removing the head, it became apparent that the engine had to come out. Here it is coming apart on the workbench. 3 of the 4 cylinder shows heavy scoring. Sorry for the blood drop on that upper compression ring – no guts, no glory. Ouch.
Older 911 valve covers typically leak. Most of them are magnesium and they simply warp or develop corrosion with time. Mechanics and owners also have a tendency to overtighten them when they start to weep, typically making the problem worse. The common fix is to simply install a set of replacement covers, however on this largely original low mileage 911T, we decided to save the originals.
Still wearing their factory coating, albeit they leak like a sieve. After facing the topside bolt holes we flip the cover over and fly-cut the sealing surface to level it out. Ready to be reinstalled. After the fly-cutting, we made a few passes over the lapping plate with a fine grit paste to remove any machining marks.
The second part of the Maserati Mistral rehab involved a new exhaust and reconditioned fuel system. Quicksilver in the UK supplied what I would call an “exhaust kit” it was an assortment of pre-bent tubes, mufflers, and hanging tabs. We had to perform all of the welding, add the mounts and flanges, as well as heavily modify the rear muffler.
I always prefer an OE style ANSA or Abarth exhaust system on vintage Italian machinery. Mainly, I find stainless systems produce a “tinny” sound – I have no proof of this – just my ears. However, because of time and budget restraints we opted for a stainless system from Quicksilver Exhaust in the UK for this project. Overhaul I was pleased with the quality. They did mess up the rear muffler, in more ways than one. The factory ANSA system is shown on the bottom.
In the middle of the COVID pandemic, it seemed unreasonable to get a replacement muffler from Quicksilver in a reasonable amount of time. So we cut open the supplied unit, and began performing surgery.
We were able to shorten the 1-2 pipe and flip it 180-degrees. From there, we shortened up the housing TIG-welded everything back together.
That’ll do! The shortened muffler came out pretty well. The extra tailpipe length on the replacement muffler is made up of a set of polished tips that will be welded-on during the final fitment.